
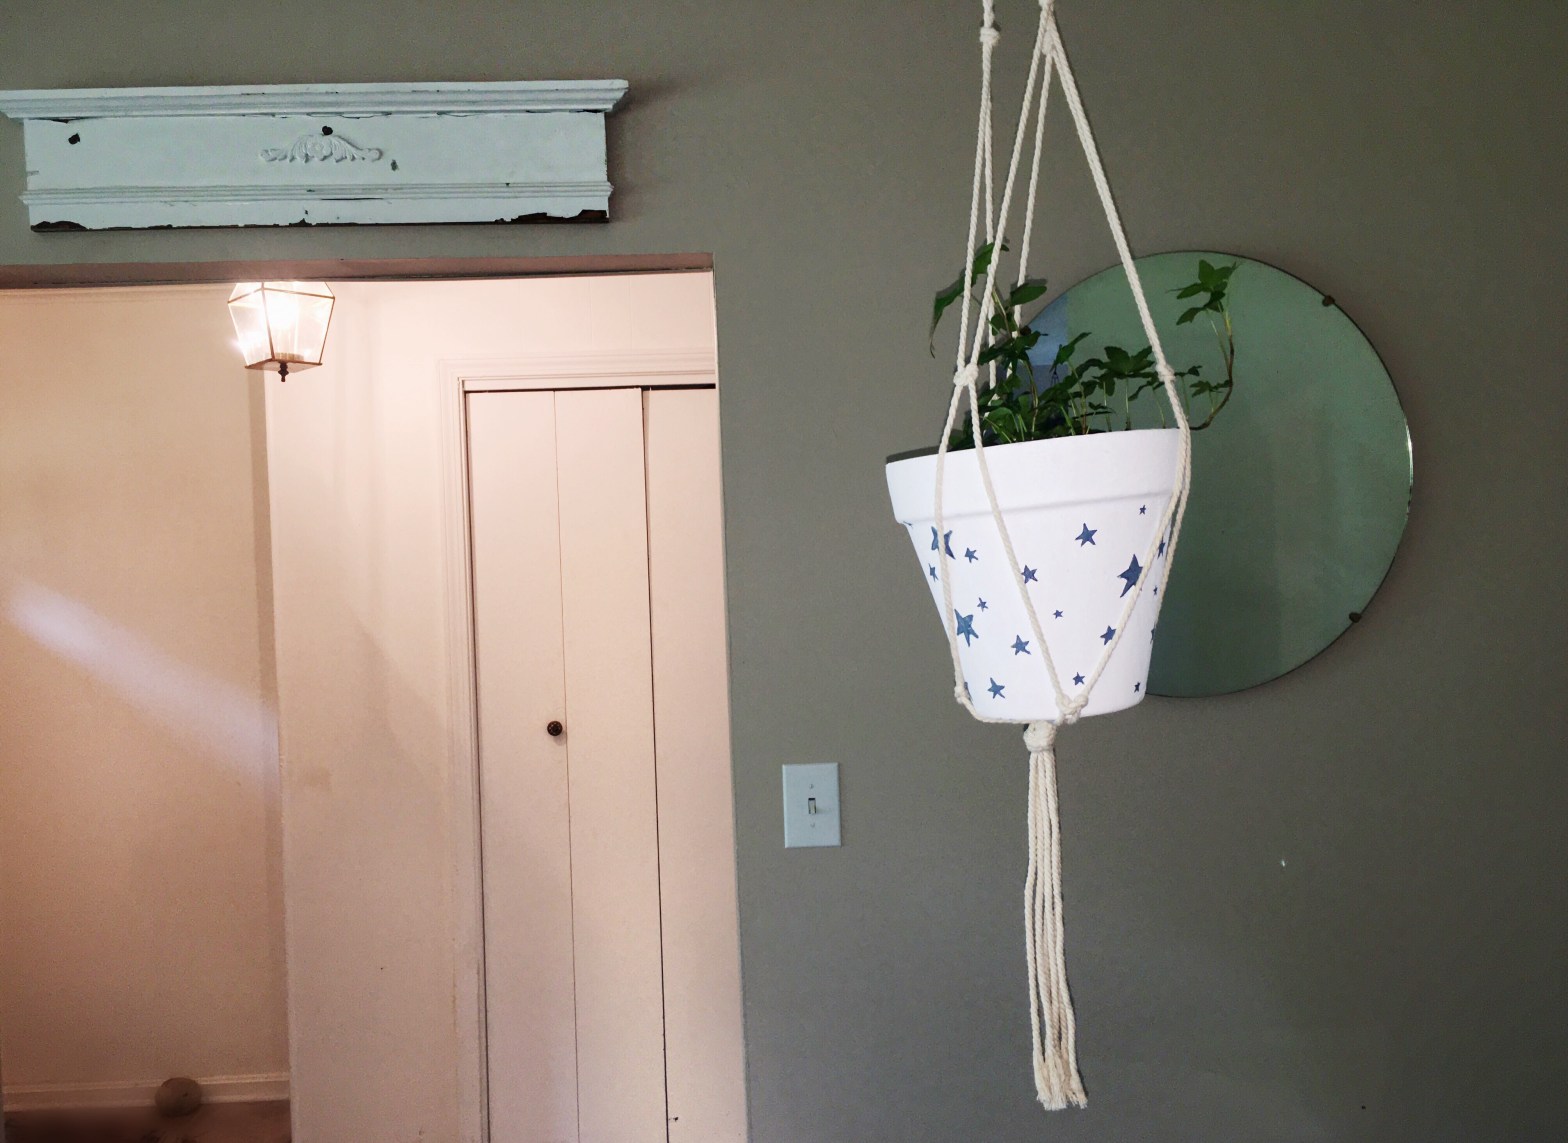

I’ve been absolutely obsessed with this 90’s revival of the Macrame Plant Hangers!! I’ve been on the hunt for some for a while but could never seem to find a price I was happy with. I almost lost hope on finding anything under the $20-$50 range when I found this perfect pair at Southern Soul boutique in Murray, KY for $9 each!! Ever since I got the hangers, I’ve been determined to put them up ASAP!! In another attempt at frugality, I decided that instead of springing for some Anthropology-esque flower pots, I’d be much better off making my own! This craft is super easy and leaves you plenty of room for creativity!
In total, this craft cost me $38, not including the white paint, pen, marker and brush I already had laying around the house.
You’ll Need:
2 Macrame Plant Hangers
2 medium sized clay flower pots
2 small Ivy plants
Potting soil
Contractor paper/newspapers to do your painting on
White paint
Black pen
Black permanent marker
Paint brush
Ceiling hooks

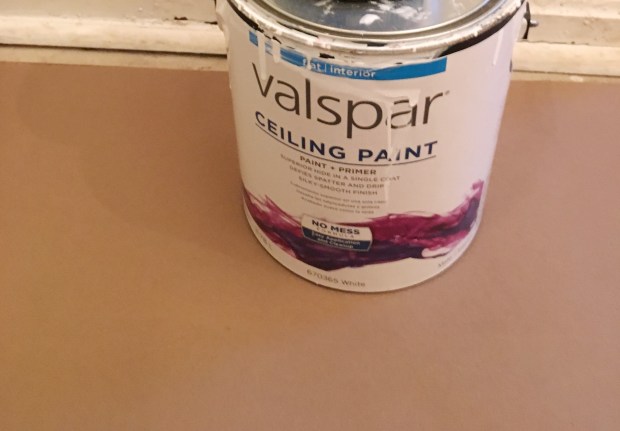
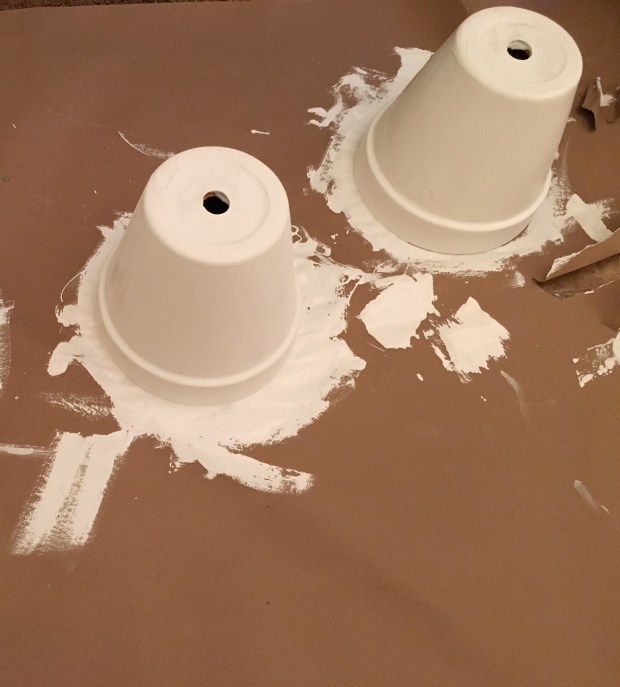
First, lay out your clay pots on some contractor paper or newspapers to avoid a big mess! Make sure to stir your white paint very well before you begin painting. Paint both of the pots solid white and for a smooth finish, be sure to watch for runs. Let the paint dry for at least 2 1/2 hours before you begin decorating.
After many different attempts at fashioning traceable stars on the pot, I decided my best option was to free hand my decorations, which in the end seemed to add more character as it looks more hand-made! Draw the star shapes and moon phases (or whatever design suits you most) with a black pen, and then go back with a black permanent marker to fill in your designs. The best part about using a marker rather than paint for this step is that there’s no more waiting for paint to dry! Now you’re ready to hang them up!


Charles helped me with the next part, but all you need to hang your Macrame Plant Hangers is a pair of ceiling hooks (make sure to find a stud in the ceiling to screw them in, he says, or the hangers with fall)! Once you’ve potted your Ivy plants into their new and improved pots, they’re ready to hang! (I put a rock in the bottom of the pot over the hole to avoid soil fallout).


I hope you’ve enjoyed this tutorial! Send me pictures of your finished craft! I would love to see how yours turns out!! Thank you so much for reading!!!
With love,
Sweet Maddie Jane
